Wallpaper tips & tricks
Did you know that WallHaus wallpaper is made in such a way that you only have to paste the wall and not the wallpaper itself? This saves you a lot of time and space.
Watch our video or the manual below and transform your interior in no time!
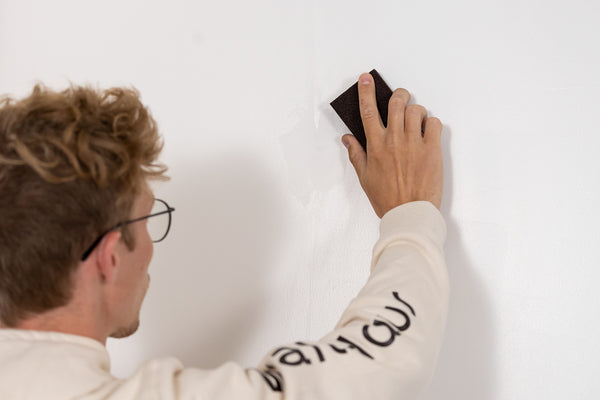
Preparation is half the battle
Dry and clean walls will enhance your unique wallpaper design. Sockets or switches? Remove the covers so that you can work easily afterwards.
Draw a plumb line 50-53 cm from the left corner, depending on the width of your wallpaper.

Make your wall sticky
Dissolve the glue powder with water in a large bucket according to the instructions on the packaging.
Let's get sticky! Use a roller for the large sections and a brush for the edges. Glue your wall generously, extending a little beyond the wall.
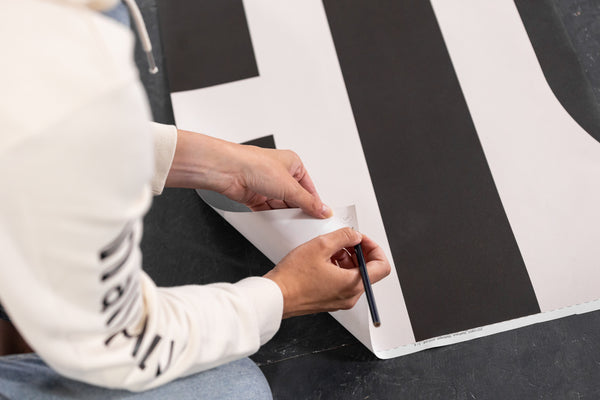
Number the wallpaper strips
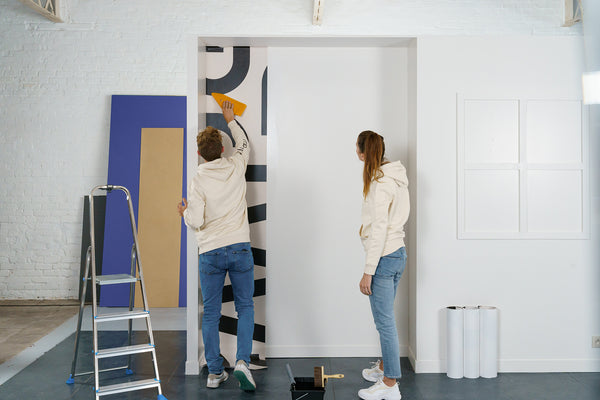
Ready, steady … wallpaper!
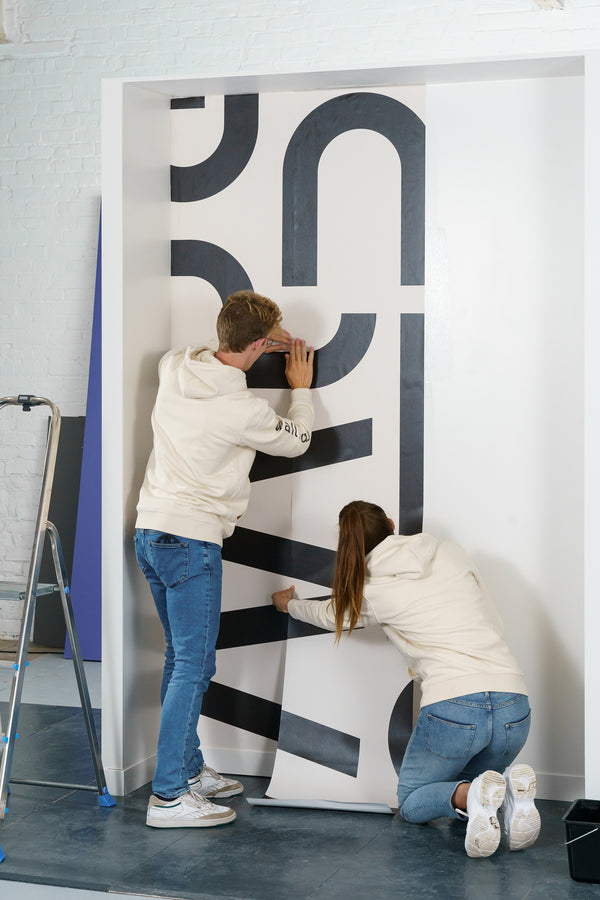
Paste the next wallpaper strips
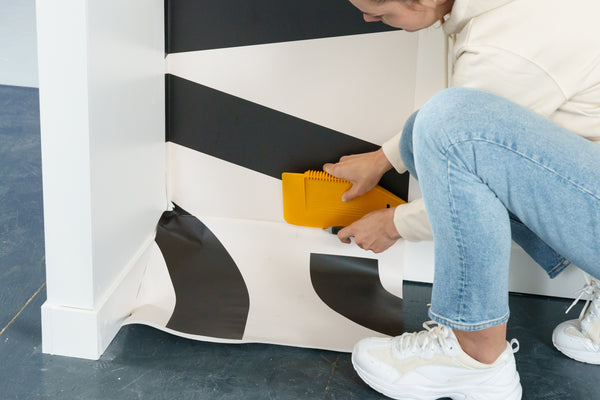
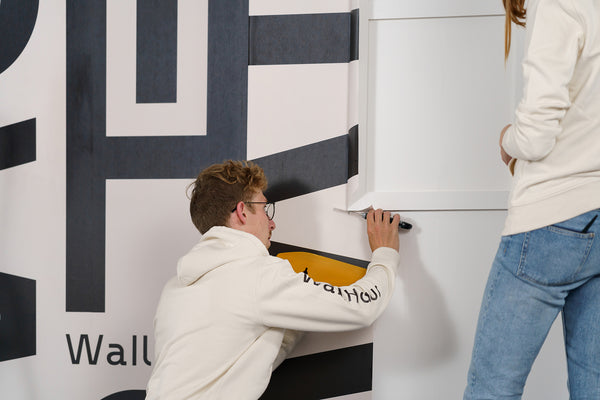
Wallpapering over corners

Wallpapering over wall sockets and light switches
